Lock Server Pairing Configuration
The pairing flow with the configured service may vary; therefore, we will explain the flow for all services accepted by MIB.
Latch Telefónica
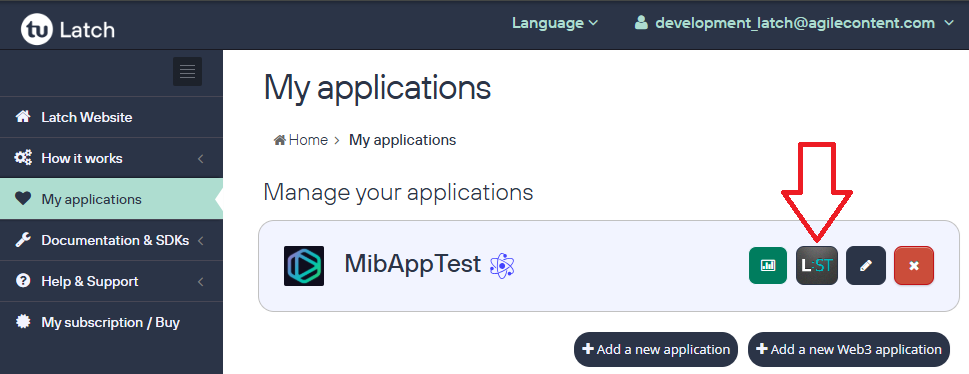
After creating the application on the Latch and configuring the MibAuthorizationServer service, let's understand how the user pairs with the created application.
1 - Log in to the authorization service
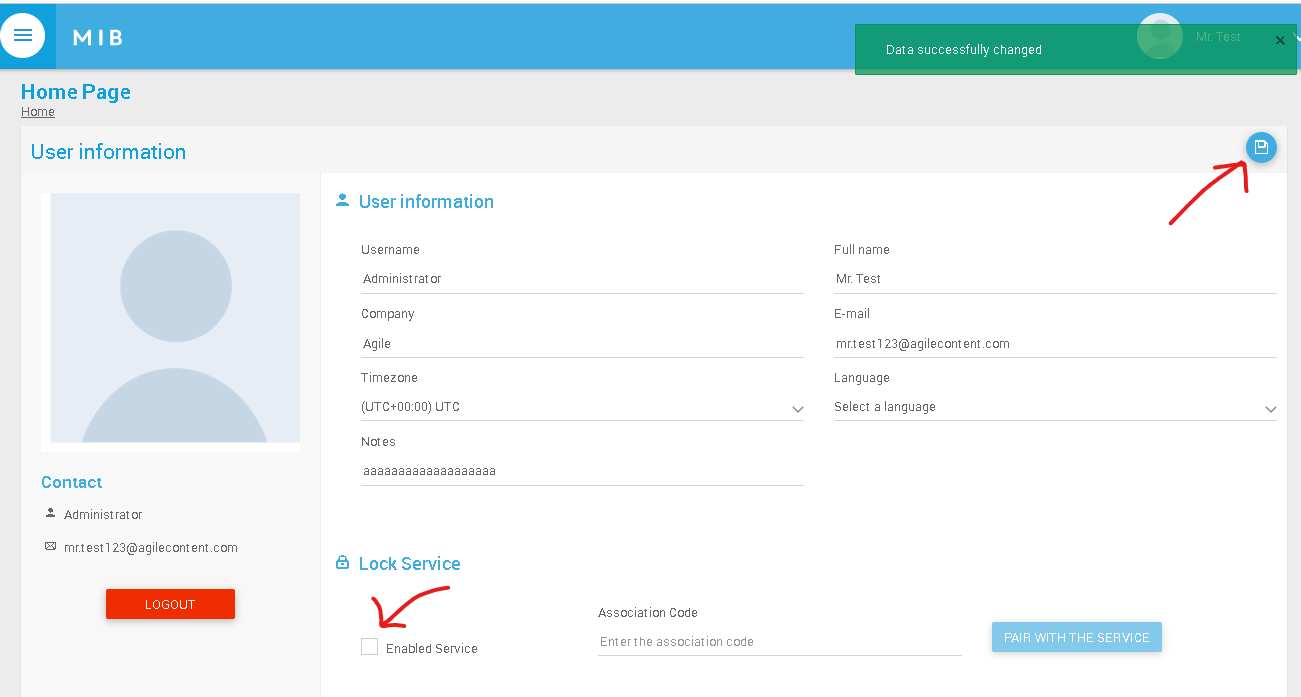
When you log in to the service, you are directed to your user profile screen. On this screen, you will have access to a new section related to Lock Server.
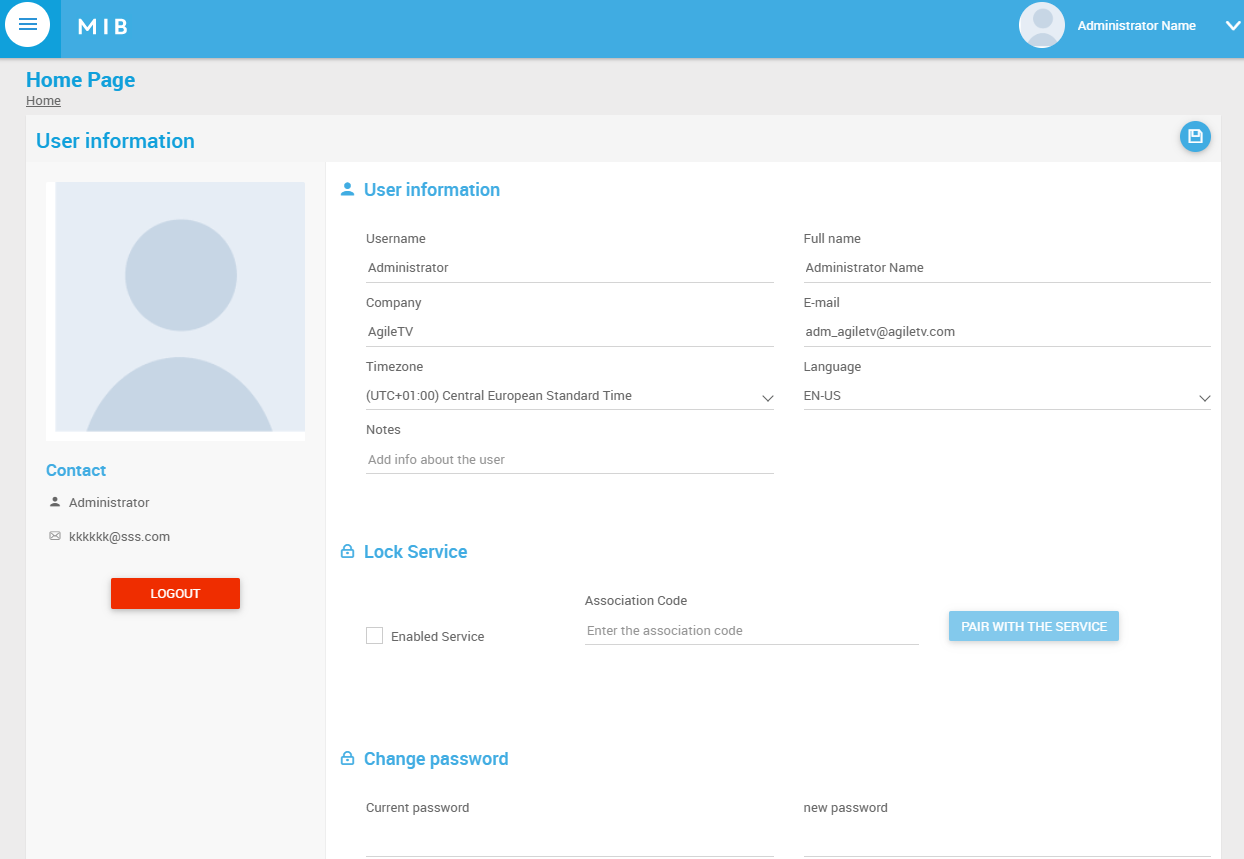
In this new section, you will have access to:
- Enabled Service -> Indicates whether the service is enabled for your user.
- Association Code -> Available to enter the pairing code.
- Pair With The Service -> Executes the pairing flow according to the provided code.
Note
The block containing the Lock Server information will only be displayed to the user if the service is enabled in the application's global settings.
2 - Enter an association code
For you to enter an association code, the Enabled Service flag must be enabled; otherwise, this option will be unavailable. With the service enabled, enter the association code generated by the app installed (Apple or Android) on your phone.
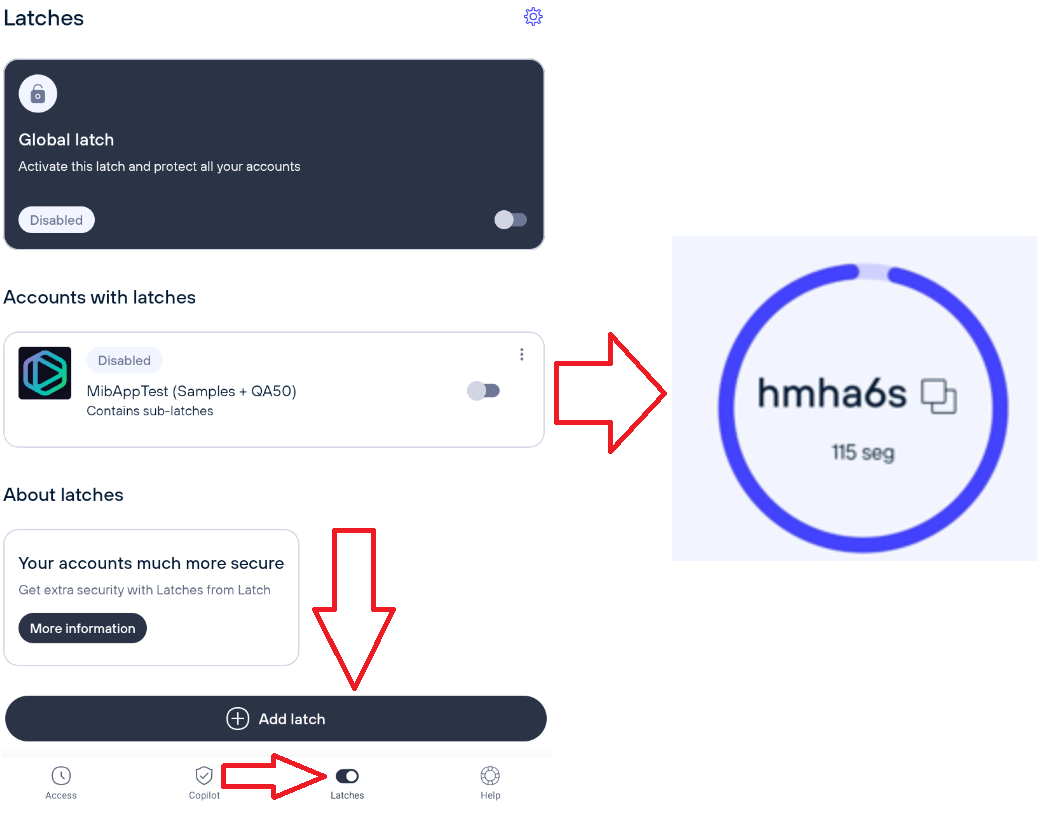
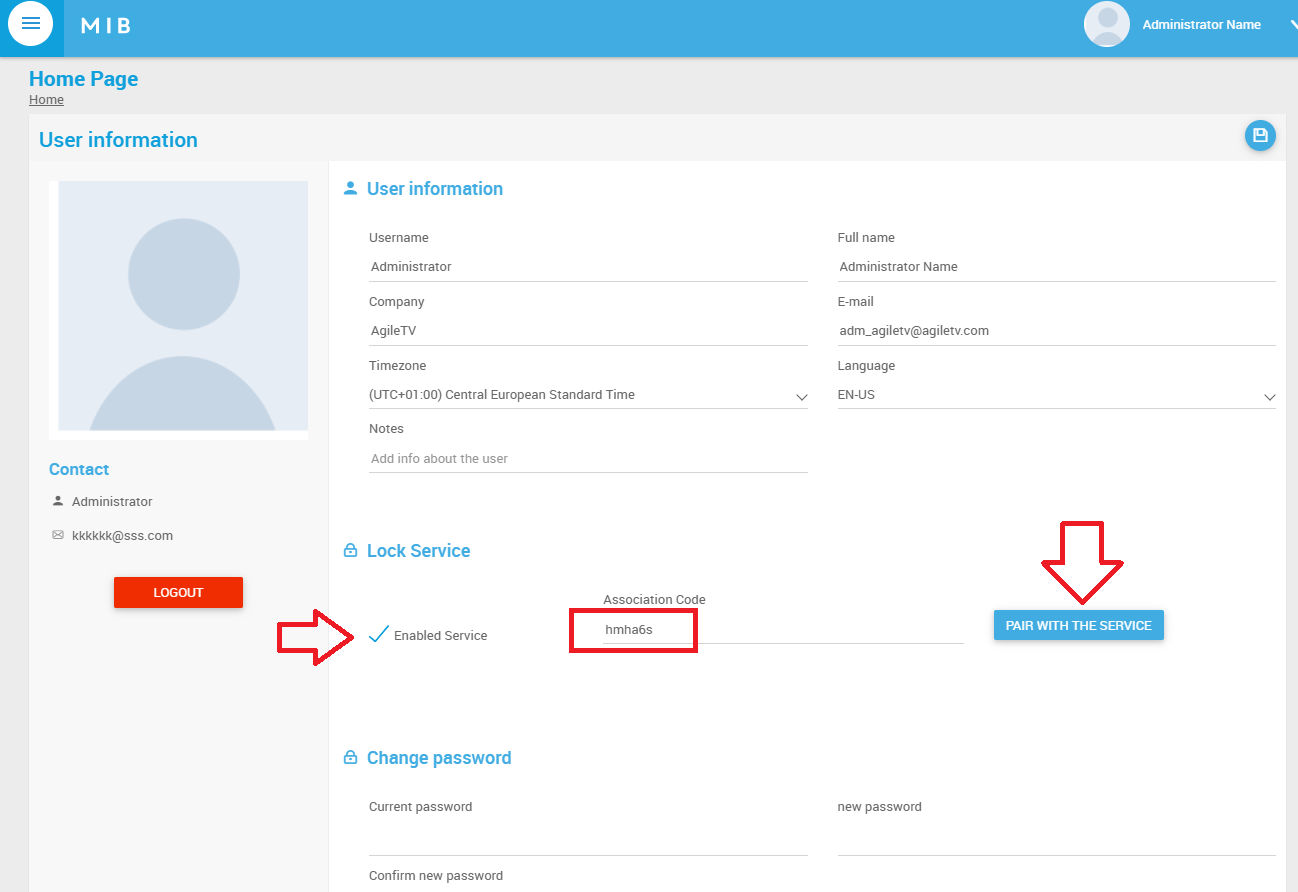
Note that after entering the association code, the Pair With The Service option becomes enabled.
3 - Pair with the service
With the code entered, simply click on the option. If everything goes well, you will see a screen indicating the success of the operation, along with a notification on your phone confirming that the pairing was successfully completed.

Note
In the pairing process, if any issue is encountered, a message will be displayed to the user informing the reason. All messages are configurable via a dictionary, allowing you to choose the best way to describe the occurrence.
With the flow successfully completed, the user is now enabled and paired with the chosen service and can take advantage of this feature while using the platform.
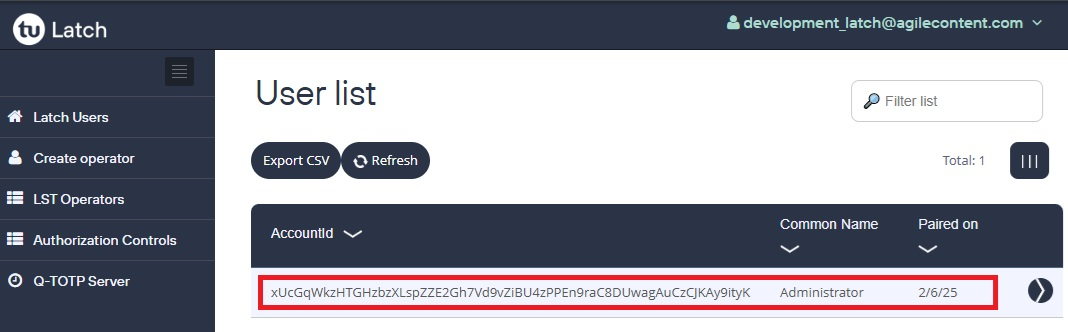
The pairing information is persisted in the ADM_USERS table in the columns LOCK_ACCOUNT_ID and LOCK_ENABLED.

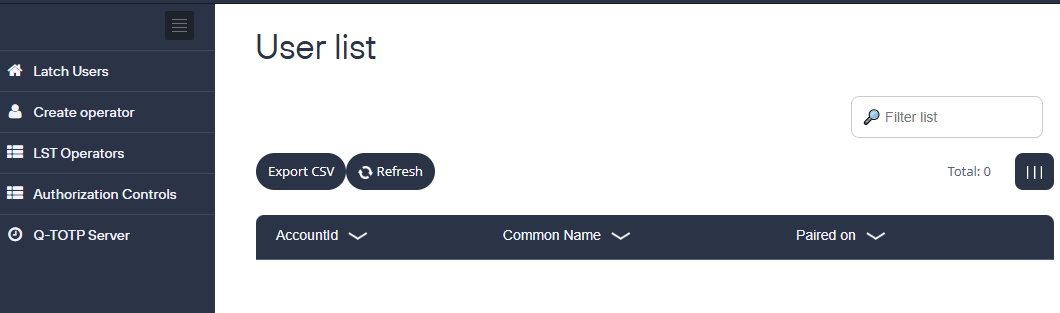
The accountId information can be viewed on the Latch website.
4 - Unpair the MIB account from the Latch service
The unpairing process is very simple, just uncheck the 'Enabled Service' field and click the Save button. If everything goes well, the success message will be displayed.
After unpairing, the pairing data from the LOCK_ACCOUNT_ID and LOCK_ENABLED columns are removed.

And the AccountId will no longer be displayed in the listing.